|

|
|
Barbarossa
is a five-turn introduction to the land and air system. Think a short
game can't be fun? It's not just fun but also intense. The
text is presented as it is in the rules book or the official errata.
My remarks, insightful commentary, and opinions will appear inline and
be clearly marked.
The
following topics are available
Barbarossa
~ "One Kick..." May/Jun 1941~Jan/ Feb 1942
[Top]
Operation
Barbarossa was the greatest land campaign in the history of the world.
This game starts with Germany poised to launch its drive against the
massive Soviet army.
|
Players:
|
Germany
vs. the USSR.
|
|
First
turn:
|
May/Jun,
1941
|
|
No.
of turns:
|
5
|
|
Maps
used:
|
Eastern
European, but only north of Yugoslavia, Bulgaria, Turkey and
Persia.
|
|
Initiative:
|
Axis
+1 box. The Axis starts with the initiative and must have the
first impulse.
|
|
Last
weather modifier:
|
None.
The die-roll for the first impulse of the game is an '8'.
|
|
War
status:
|
Germany
must declare war on the USSR on its first impulse.
|
|
Entry
Chits:
|
NA
|
|
Reserves:
|
Germany
has called out its reserves, the USSR hasn't.
|
|
Control:
|
As
specified on the map except that:
-
the
USSR has conquered Latvia, Lithuania, Estonia and Poland
(east of the partition line) and controls the Finnish border
lands and Bessarabia;
-
Germany
has conquered Poland (west of the partition line) and is
aligned with Czechoslovakia and Rumania; and Transylvania is
part of Hungary.
|
|
Intelligence
points:
|
NA
|
|
Off-map
production:
|
Germany
~ 19 factories, 1 oil & 17 other resources off the western
map edge.
USSR
~ 4 factories, 6 oil & 11 other resources off the eastern
map edge. Furthermore, from Jul/Aug, the USSR receives 5
resources via Archangel (while not frozen) and/or Murmansk
(Soviet player's choice), if that port is Soviet controlled.
|
|
Special
rules:
|
All
Italian units are German controlled and count against Germany's
activities limits. Italian reinforcements arrive in Warsaw.
Soviet
factories can be shipped off-map by railing them to the eastern
map-edge for 3 rail moves each.
Hungary
and Finland may be aligned (see 9.8) by Germany from the first
turn of the game.
|
|
Special
victory conditions:
|
In
addition to the 9 on-map objectives (see 13.8), each city in the
East European map portion of the USSR is an additional objective
(e.g. Leningrad counts as 2 objectives).
|
|
Historical
objectives:
|
Germany
~ 21, USSR ~ 20.
|
|
|
|
|
|
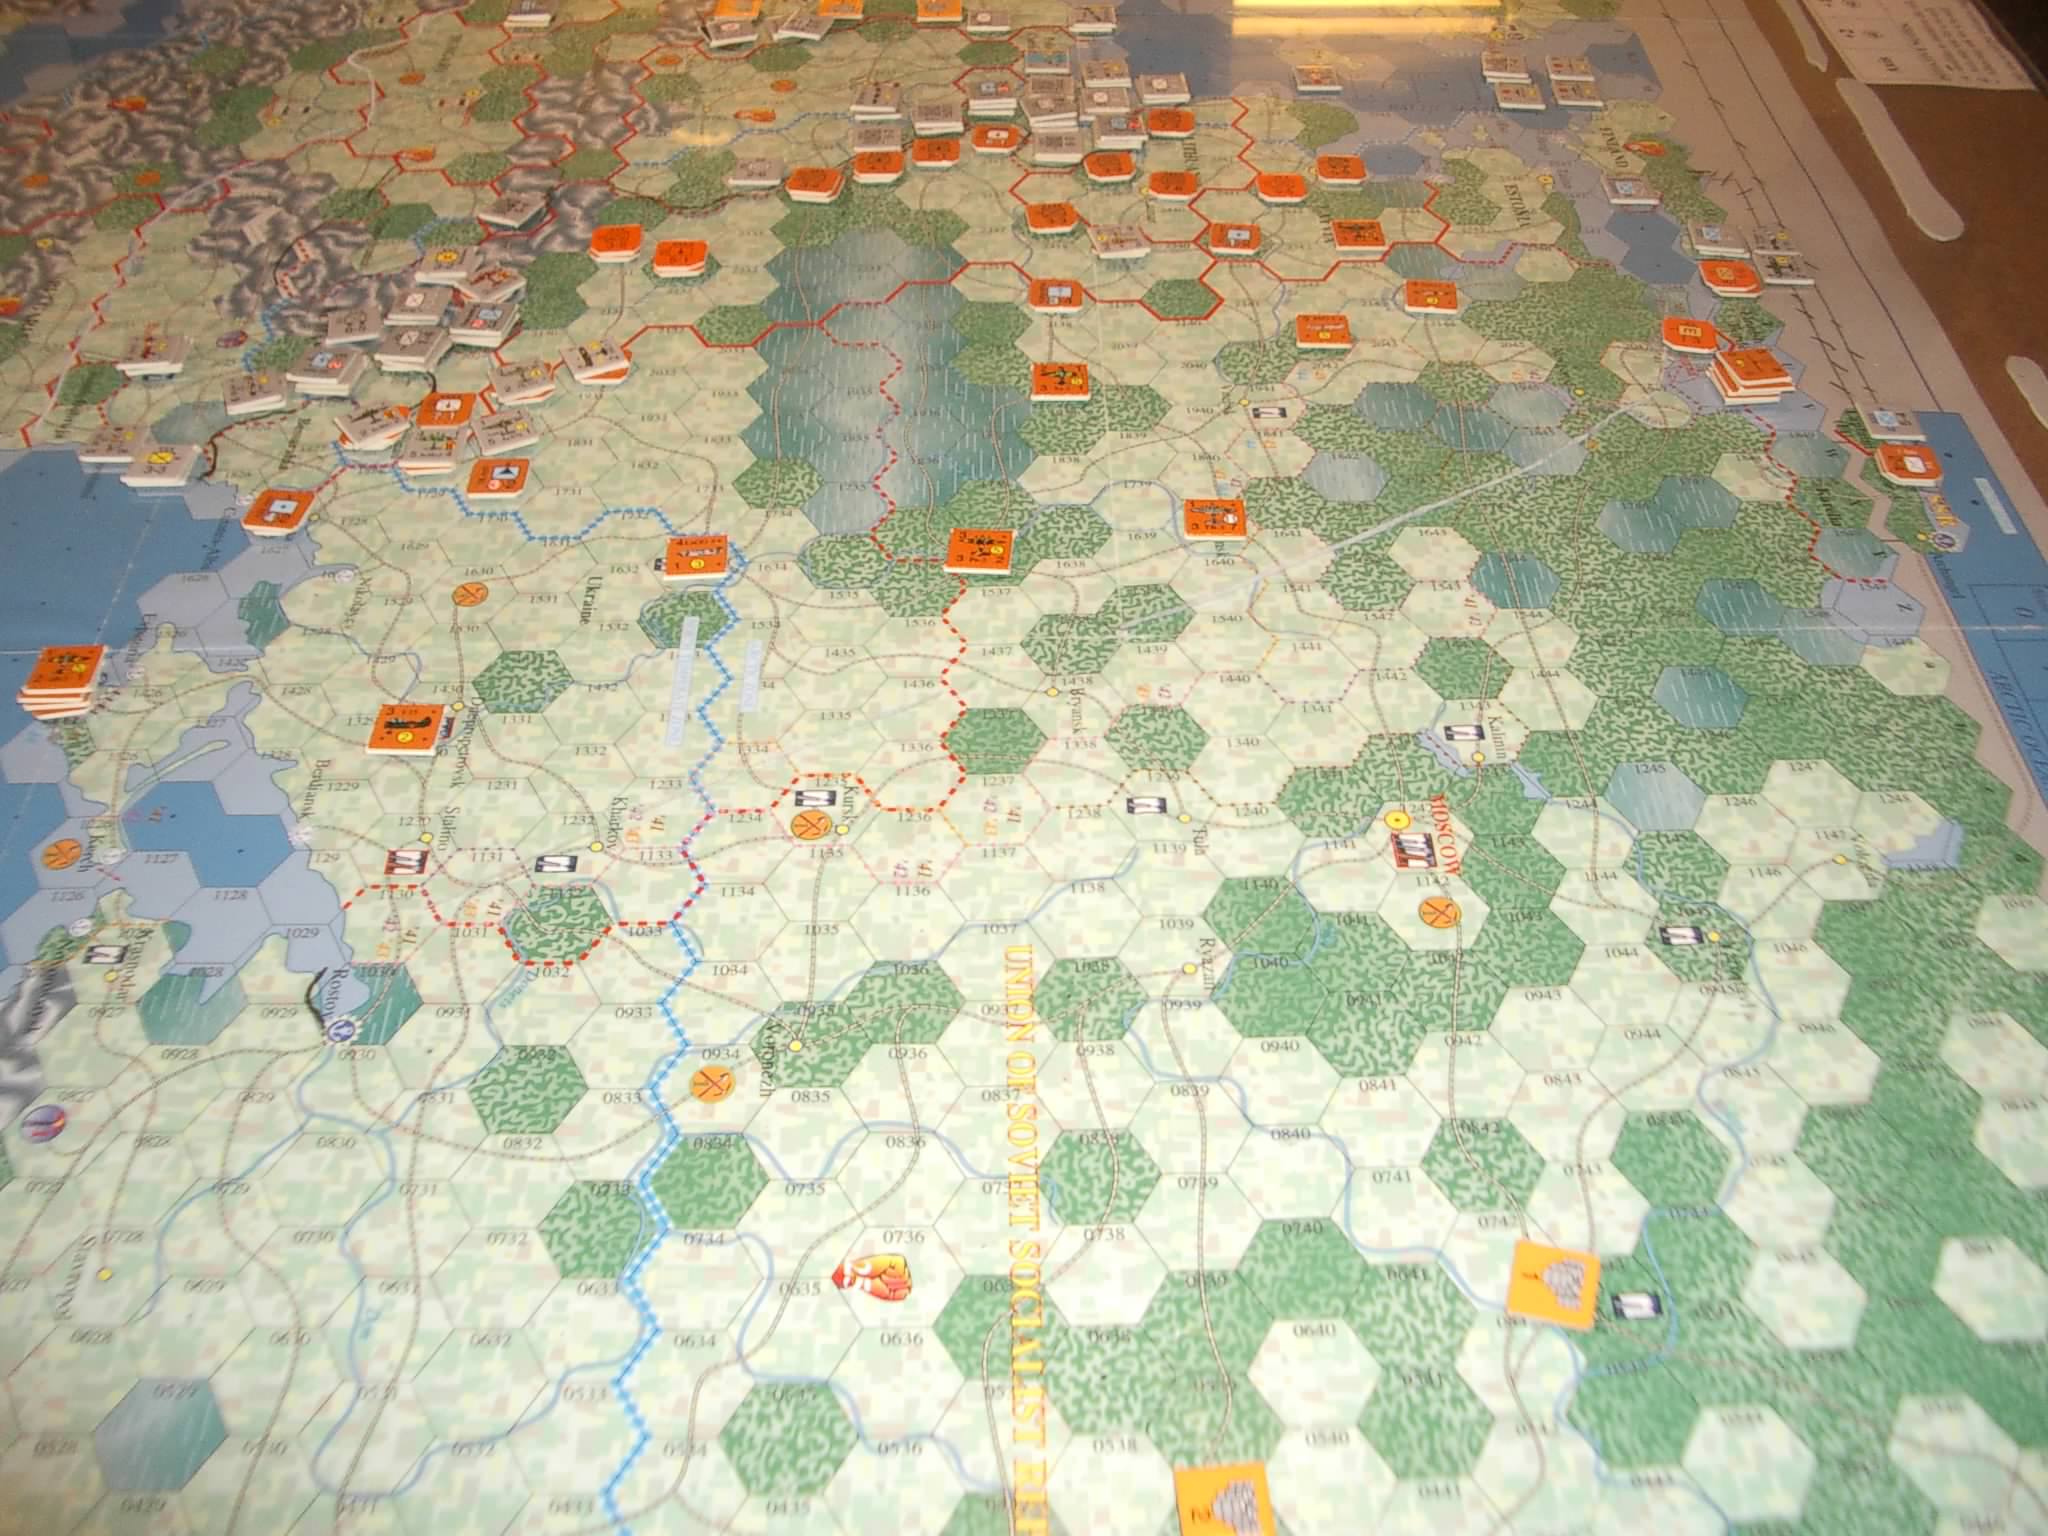
The "One
Kick" set up. I know it's hard to see but you may get a sense of
the Russian forces. The Germans have two assault groups: One in the
north and the other in Rumania. |
The put upon
Russian leader before the game starting. |
[Top] [Allied
Player's Notes]
Barbarossa -
German
setup
Our
group does not play with SiF (Ships in Flames) or PiF (Planes in Flames).
Location |
Land
units |
WiF-naval |
WiF-aircraft |
Other |
Germany
(except East Prussia) |
1
INF,
1SS INF,
3 MIL |
- |
1
FTR-3,
1 NAV-4 |
1
Gun,
1 Eng,
4 Oil |
East
Prussia, Poland, Rumania |
Rundstedt,
von Bock,
von Leeb,
4 ARM,
4 MECH,
3 MOT,
11 INF,
1 MTN |
- |
5
FTR-2,
3 LND-2,
4 LND-3,
1 NAV-3 |
4
Gun,
2 Inf,
1 Arm,
1 Mech,
1 OC |
Rumania
|
Antonescu,
2R INF,
2R MIL,
1R CAV,
1R MTN |
CL~Dest
Flot (R) |
1R
LND-2 |
1
Gun,
1 Mtn |
Baltic
Sea ports |
- |
BB~Schlesien;
CA~Adm. Hipper;
Trs;
SUB; 10CP |
- |
- |
Jul/Aug
|
1F
MECH,
1R MOT,
1 INF
1It INF,
Para |
- |
1
LND-3,
1 ATR-3 |
- |
Sep/Oct
|
1
ARM,
1SS MECH |
- |
- |
1
Synth |
Barbarossa
-
Russian setup
Our
group does not play with SiF (Ships in Flames) or PiF (Planes in Flames)
Location |
Land
units |
WiF-naval |
WiF-aircraft |
Other |
Europe
(note 1) |
Timoshenko,
Yeremenko,
3 ARM,
3 MECH,
3 MOT,
9 INF,
6 GAR,
2 Cav,
Mtn |
Sub,
TRS, 5 CP |
4
FTR-2,
1 LND-2,
3 LND-3,
1 LND-4 |
5
Gun,
Eng,
2 Inf,
Mech,
3 Oil
1 Ski
1 OC |
Baltic
Sea ports |
- |
BB~Marat;
CA~Kirov; |
- |
- |
Black
Sea ports |
- |
BB~Paris
Commune; CL~Chervona Ukraina |
- |
- |
Construction
pool |
- |
CA~Chapayev
|
- |
- |
Jul/Aug
|
Zhukov,
MOT,
2 INF |
- |
- |
Cav,
Fort |
Sep/Oct
|
MOT |
- |
- |
Fort |
Nov/Dec
|
PARA |
- |
- |
Fort |
Note
1: At least 10 corps/armies must set-up within 2 hexes of German
controlled Rumania, and another 10 within 2 hexes or German controlled
Poland.
|
[Top] [Allied
Player's Notes]
Russian Players Notes
USSR: You
are forced into the dangerous front-line, historical set up that Stalin
was caught with in the summer of 1941 ~ but don’t despair, Russia won
that war and you can, too.
You have two assets: your army, and the large size of the USSR and you
must use them both.
Your set-up is extremely important. It’s best to set up all your front
line units in stacks 2 high. If you can’t afford 2 unit stacks in every
border hex, you need to set up 1 hex back from the border to stop your
units being infiltrated.
Preferably, place as many units as possible under the shade of a good
forest or in a swamp. Put your slowest infantry and garrison units in
the Lvov mountains and the front line cities of Kaunas, Vilna, Brest-Litovsk
and Lvov ~ they can’t be blitzed and don’t need to move. 1 or 2 CAV
in the Pripet Marshes is probably also a good idea.
Your goal is to prevent the Germans from crossing the Neman or the Dneister
during the surprise impulse when the river defense is ineffective. If
Germans set up in Memel, it could be difficult to hold the Neman, but
you should be able to hold the Dneister. Defend hex E2740 strongly;
it is forest so you are safer from ground strikes, and it is the best
hex the Germans can attack on during the surprise impulse in this area
to unhinge the Neman.
In the south, you will be forced to defend some clear terrain. Do so
with two infantry type units in each defended hex to deny the Germans
any easy attacks and in the hope of disrupting some of their units.
Your units will be easy targets for ground strikes, but if they spare
your precious ARM, MECH, and HQs (which should all be in forests or
swamps if possible) then it’s worth it.
Timoshenko should be set up in a southern Pripet marsh hex, such as
E2134, where he provides supply to the Lvov to Brest-Litovsk region.
Provided he is not ground-struck on the first impulse, he should then
run like the clappers for Kiev and the Dnieper, surrounded by whatever
of their forces escape the maw of Army Group South.
Yeremenko should set-up in the north, in the forests around Vitebsk
(outside stuka range). You will also need 2 armies in Leningrad, another
2 armies in Murmansk and at least 1 in Archangel.
Your air force should be set-up outside enemy ground-strike range, 1
per hex, and again in forest, wherever possible. You should keep them
in a position to cover the Dvina and Dnieper river crossings.
Once the onslaught starts, the worst mistake you can make is to send
your front line units into headlong retreat. A stubborn front line defense
will cause heavy loss of Russian units, but may keep the Germans busy
and unable to penetrate as far as Vitebsk or Kiev until late in the
July/August turn.
Withdraw gradually, one or two hexes per impulse, defending every other
hex with two units wherever possible to minimize breakthroughs. Remember
that you are trading both space and your army to keep the Germans from
getting at your vital interior hexes (factories and resources) for as
long as possible. The key is knowing when to sacrifice a unit and when
to yield ground.
If this isn’t possible, leave garrisons in (automatically supplied)
cities to distract the Germans and then fall back with the remainder
of your forces. Your aim is eventually to reach the Dnieper and Dvina
river lines and to make a stand there with your reserves, reinforcements,
and the units not required to start near the front.
Your air force will help you hold these river lines, as you should have
complete air supremacy that far back, at least until the German air
force can reach the front. Use your LND bombers wisely to reduce German
attack odds in an effort to disrupt German units. If the Germans use
up many of their HQs early in a turn, it might be worth a chance to
try to ground strike the remaining HQs ~ if you succeed, German supply
lines will be locked and their units will be unable to advance. Your
FTRs should be used firstly to cover your HQs and secondly to contest
key defensive hexes.
If those lines just can’t be held, fall back with what you can to hexes
outside of the German supply range (6 hexes from the furthest hex an
Axis HQs can get to in the following impulse) and defend with 1 unit
in every second hex. Being out of supply, the Germans will be able neither
to attack nor overrun your weakest unit. Unfortunately, this last resort
forces you to give up a lot of the mother country.
With luck, you will get some rain in the Arctic zone (which covers most
of the northern front), slowing up the Germans there, making it possible
to reach those lines with some sort of intact force.
Your HQs are vital ~ without them your armies will be out of supply
and dead meat. After the surprise attack try to give them FTR cover
and do not use them to reorganize anything until at least three impulses
have past ~ you cannot afford to lose these units lest an entire front
crumble due to lack of supply, and if they are flipped over they can’t
move! Their job is to lead an organized retreat. One of your back line
HQs could be used to reorganise some bombers.
From the time your army has reached good defensive positions, you may
want to pass to hasten the end of the turn.
Don’t forget to rail your factories out of danger of German capture.
You probably won’t need much rail for your units, so you should dedicate
most of the first 2 turns rail moves to factories.
Eventually, the horrific May/June turn will come to an end. Your reinforcements
in Jul/Aug will exceed 20 units (13 reserves, 4 from set-up & 7+
militia) giving you a huge draft of fresh troops. Rush them to the front.
If you can get them to the Dnieper before the Germans get across, you
have a good chance of holding them there permanently. If not, you must
continue to retreat keeping your stacks as strong as possible in order
to disrupt as many German units as you can.
Be very careful about any attacks in this scenario during the first
three turns ~ a bad die roll could cost you far more than you stand
to gain. The rule of thumb to remember is: can I afford to roll the
worst result on this attack? If not, don’t do it.
Once bad weather begins, the front should stabilize, and you should
begin to look for opportunities to strike. The scenario is too short
to organize any large counterattacks, so be on the look out for German
ARM which have spearheaded an attack but were left face down; they may
be ripe for counterattack ~ assault them to try to kill them, if you
can afford the extra losses yourself. Take advantage of the winter to
try a modest offensive or two to regain lost resource or factory hexes.
Your production should be targeted towards building units which arrive
quickly: MIL, GAR and INF are your best builds, along with the odd aircraft
or two.
If you are playing with optional rules, you will have a lot of artillery
units at the start. These are outstanding units for holding static defensive
positions, like the Dneiper river, and they should set up there. Their
slow movement means that positioning them near the front will ensure
their doom, sooner or later, and their high cost will be prohibitively
expensive to replace for years to come, so don’t fritter them away.
You may wish to build a SKI division ~ this nifty unit will give the
German fits once the snows begin to fall. Breaking down some other corps
into divisions will give you added flexibility, but this need not be
done at set up.
|
[Top] [Allied
Player's Notes]
German Players Notes
Germany: This is
your dream scenario: the Russian army at the front, surprised by your
attack. WiF players won’t often make this mistake. Make the most of
it!
Your most important consideration is to set your objectives and keep
them clearly in mind. Reasonable objectives in this scenario are either
to capture cities in the Moscow region, or to cross the Dneiper in force
to capture as many factory and resource hexes as possible in the southern
region. Recognize that you won’t be able to do both in the time allotted
to this scenario, and a mid-game change of focus can lead to a disaster.
Make a plan and try to stick to it, although you have to respond to
Russian tactics as well.
Set up your ARM, MECH and MOT in 2-unit hunter killer stacks, spreading
them out along the border to maximise your flexibility. If your goal
is Moscow, you must concentrate more of them in northern Poland. The
rest of your forces should also set-up 2 high as close to the border
as possible (especially your ridiculously short ranged air force).
The first big question you have to decide is whether to use your offensive
chit on the first impulse, and if so, on what action.
One option is to use an offensive chit on a super combined to allow
you to ground strike, invade and attack at will.
However, if the Russians are set up 1 unit a hex, speed bump style,
it may well be worthwhile to spend a chit in a land action to double
a couple of your panzer stacks to overrun the speed bumps. 18 factors
doubled can overrun 5 factors of Russian land units, and a few judicious
overruns adjacent to flipped enemy units can quickly rip a front apart.
Use your best four LND bombers to ground strike. Russian HQs, ARM and
MECH make the best targets, but they may be out of range or hiding in
forests and swamps. If so, you may prefer to hit the units in Kaunas,
Vilna and Lvov. These can be difficult defensive positions to take and
will anchor the Russian defense in eastern Poland and the Baltic States.
If you can seize them quickly by ground striking the defenders and isolating
them (so that they are face down and out of supply), the defense lines
around them will falter.
As a third option, if the Soviets are set-up 1 hex back from the border
all in stacks 2 high, you might do better to try an air action on the
first impulse, perhaps even using your offensive chit to turn your bombers
into lethal disruption machines.
“But wait”, you cry, “if I do an air action on the first impulse, I
lose the surprise impulse benefit of ignoring rivers?”. This doesn’t
matter. Because the Soviets have set up 1 hex from the border, they
have already given up the Dniester and much of the Neman. Since you
will successfully ground strike most of the Russian army (particularly
in the wide-open steppes of the south), there ain’t going to be much
left for them to reorganise. Then the ground striking aircraft can all
return to base near the activating HQ and most of them can be reorganised.
If the Russians form pockets on sideline locations, such as in the Pripet
marshes, along the Baltic coast, or in the Carpathian mountains ~ leave
a minimum of screening units and ignore them. Focus on cutting their
supply lines instead, and they will be rendered harmless, then dead,
at your convenience.
Generally, make fewer attacks at high odds (4:1 or better blitz attacks
are the best) rather than more low-odds ones.
If you have used your offensive chit, you will only have 2 active German
HQs left (plus Antonescu and Mannerheim who can at least provide supply,
if not much else). Be wary of using these HQs early in the turn to reorganise
units, as they will be needed to continue the advance, ensuring that
your panzers don’t run out of supply.
There are 2 keys to capturing Moscow: making sure the Russians cannot
set up a strong defense line between Smolensk and the Dneiper River;
and attacking the cities around Moscow before winter sets in. Preventing
the former requires a headlong, crushing advance to unhinge the northern
Dneiper defense line before it gets set up strongly.
Once that is done, secure your flank by taking Tula if you have time,
and then throw everything at Moscow fast and hard. You probably won’t
have much time (if any) before bad weather sets in, reducing your attacks
but encouraging white print Russians to counter attack. Be careful to
keep your supply lines secure, particularly from counterattacks from
the Voronezh and Kursk region (which you might not get to if you are
concentrating on the Moscow area).
South of the Pripet Marshes, be sure to at least clear all Russian units
from west of the Dneiper river. If you wish to seize objectives in the
southern sector, your goal must be the rapid crossing of that River.
If the Russians are allowed to create a solid defensive line here, it
will be difficult to crack. Try to ensure that the forward-deployed
Russian units are not able to escape backwards to form this line. Ground
strike the fast ARM and MECH and all HQ units, and try to entrap (surround
and cut supply to) as many Russians as possible. Once you reach the
river, use an offensive chit to break it. A good ploy is to use it to
attack hexes E1432, and E1429 after taking Kiev.
Taking Dnepropetrovsk first is not necessary here ~ your aim is to outflank
that troublesome city to both its north and south. If successful, the
Russian will have a tough choice between standing and defending that
city (which you are sure to surround soon) or retreating and sparing
their army. Alternatively, you could have some units doubled in the
attack on Dnepropetrovsk when you use your offensive chit. With luck,
you may turn the Russian retreat from the Dneiper into a rout.
As always, focus on bagging the Russian HQs. Russian mobility is hurt
almost as badly without them as your own would be without yours.
Be wary of Russian LND bombers. Make sure your HQs have FTR cover, and
try to reserve 1 or 2 of your air moves for rebases to keep some FTR
cover and some bombing threat on the front lines. Building some FTR
and LND, as well as infantry type units, will be useful as they can
be rebased to the front fairly quickly. You might consider building
another HQ-I on the first turn, too, or even an offensive chit.
The Finnish front should be played cautiously. Precipitous attacks by
the Finns might lead to a Russian winter counter offensive that could
threaten Helsinki. Place 2 units in Finnish off map hexes at Petsamo
for defense. If Russian play in the north is incautious, Mannerheim
could lead a charge towards Archangel. In a campaign game this can be
very important, but within the confines of this scenario it is merely
good practice.
Sevastopol, on the Crimean peninsula, is a heavily fortified city, and
probably not worth the trouble of taking. You can overrun the Crimea
easily without taking it; this will nab a resource and possibly threaten
a quick breakthrough over the Kerch Straits into the Caucasus. It is
unlikely you can make much of such a breakthrough in this scenario,
but the threat will probably draw off Russian ground troops from more
active theaters. |